
Photo guide
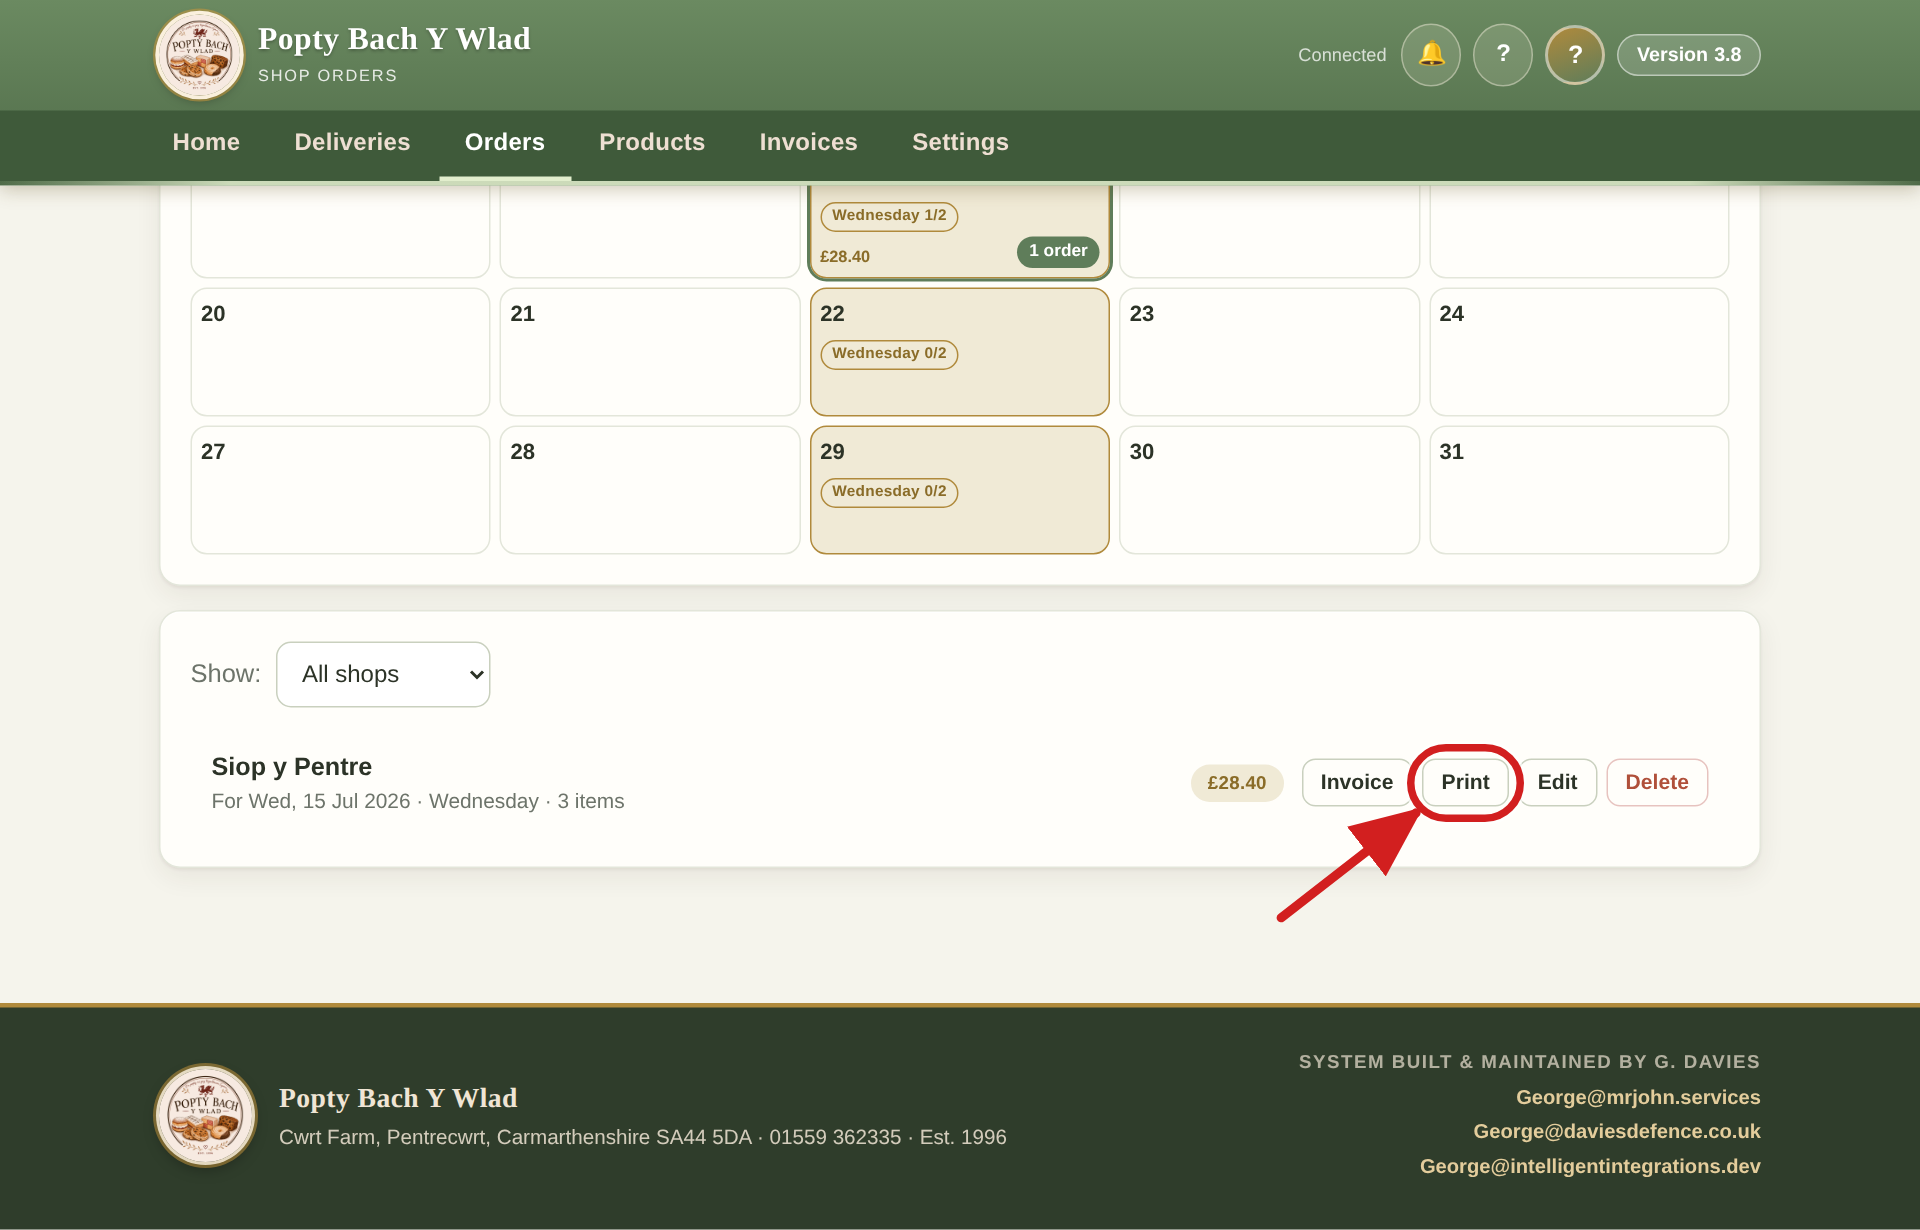
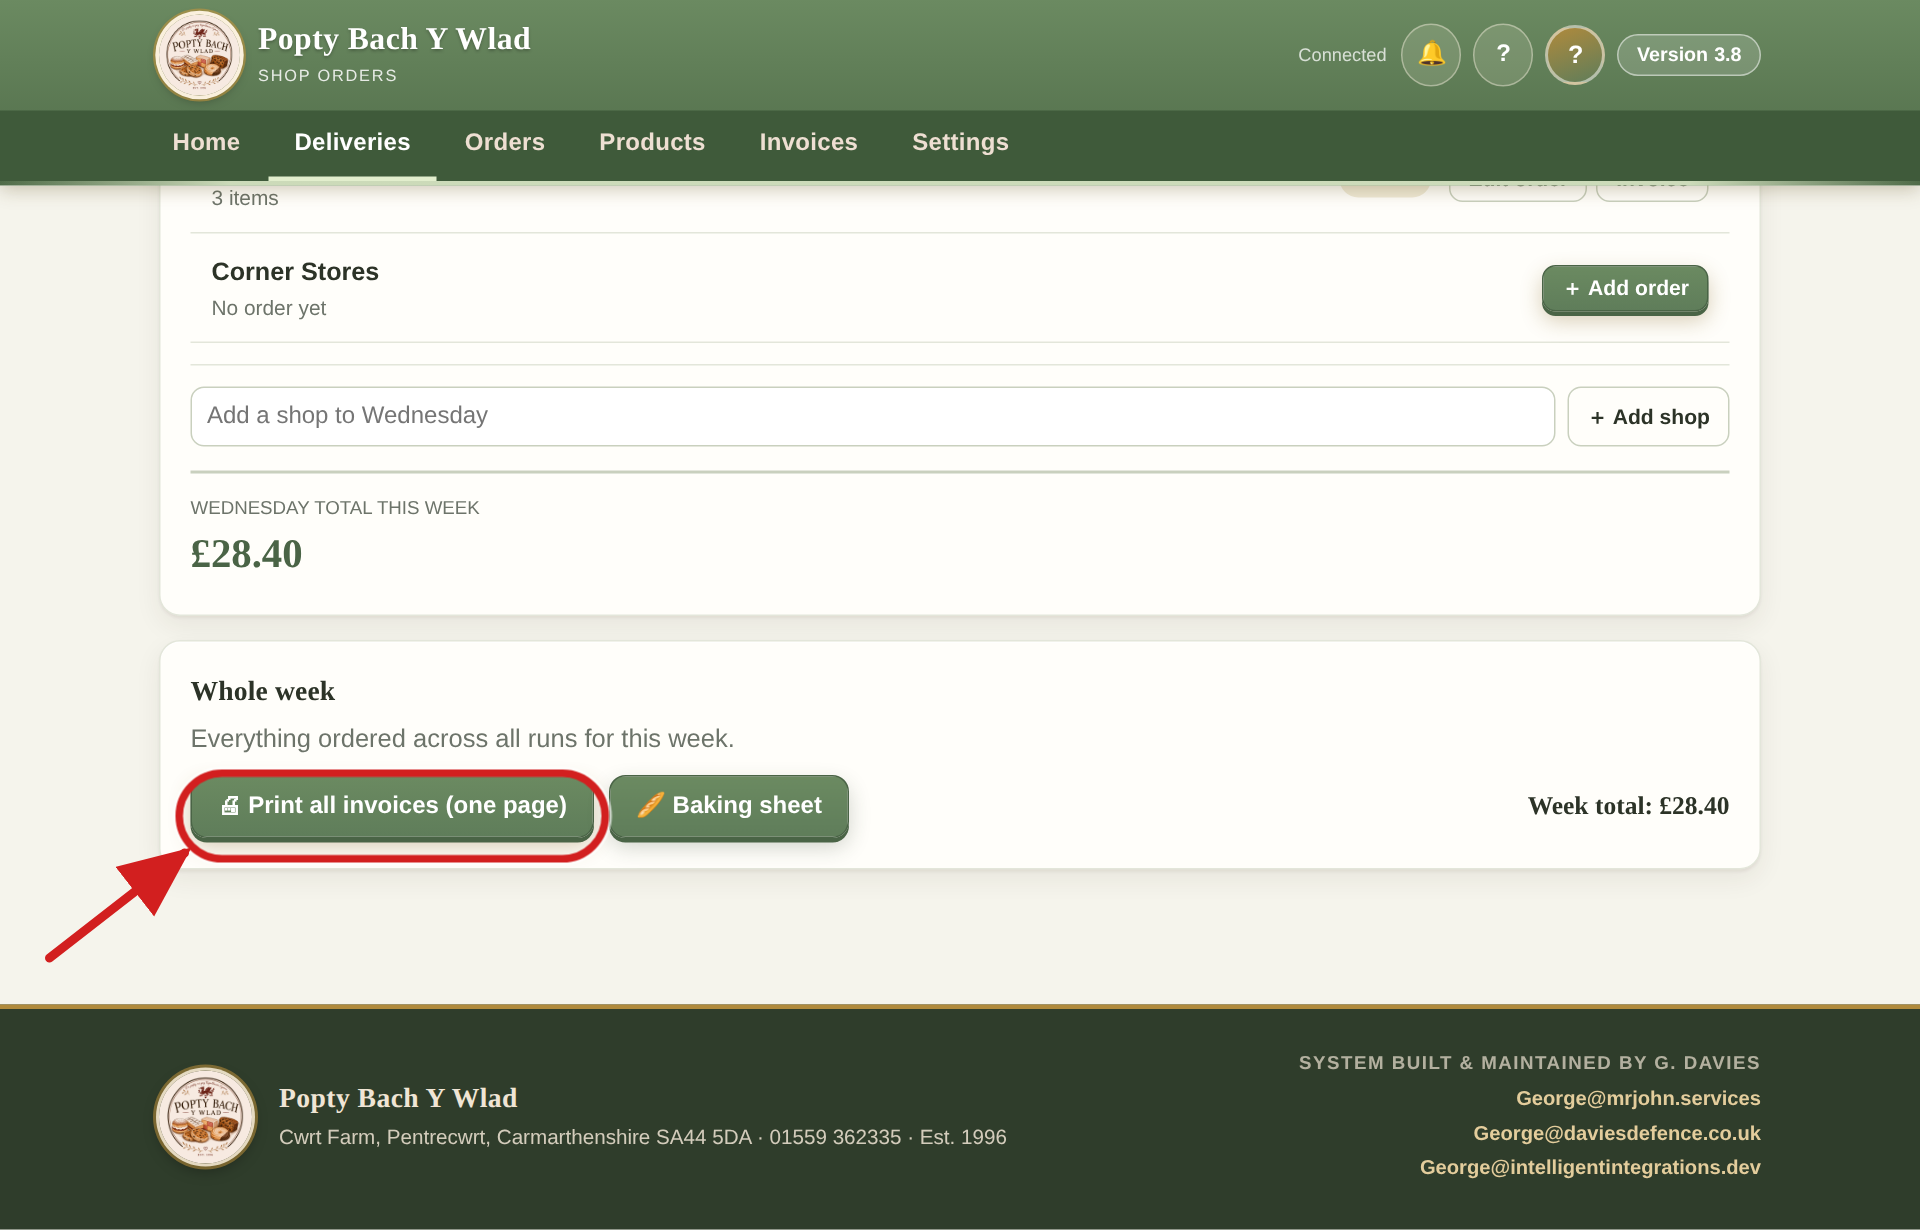
Simple photo steps for the everyday jobs. When printing, every part prints together.
Simple photo steps for the everyday jobs. When printing, every part prints together.
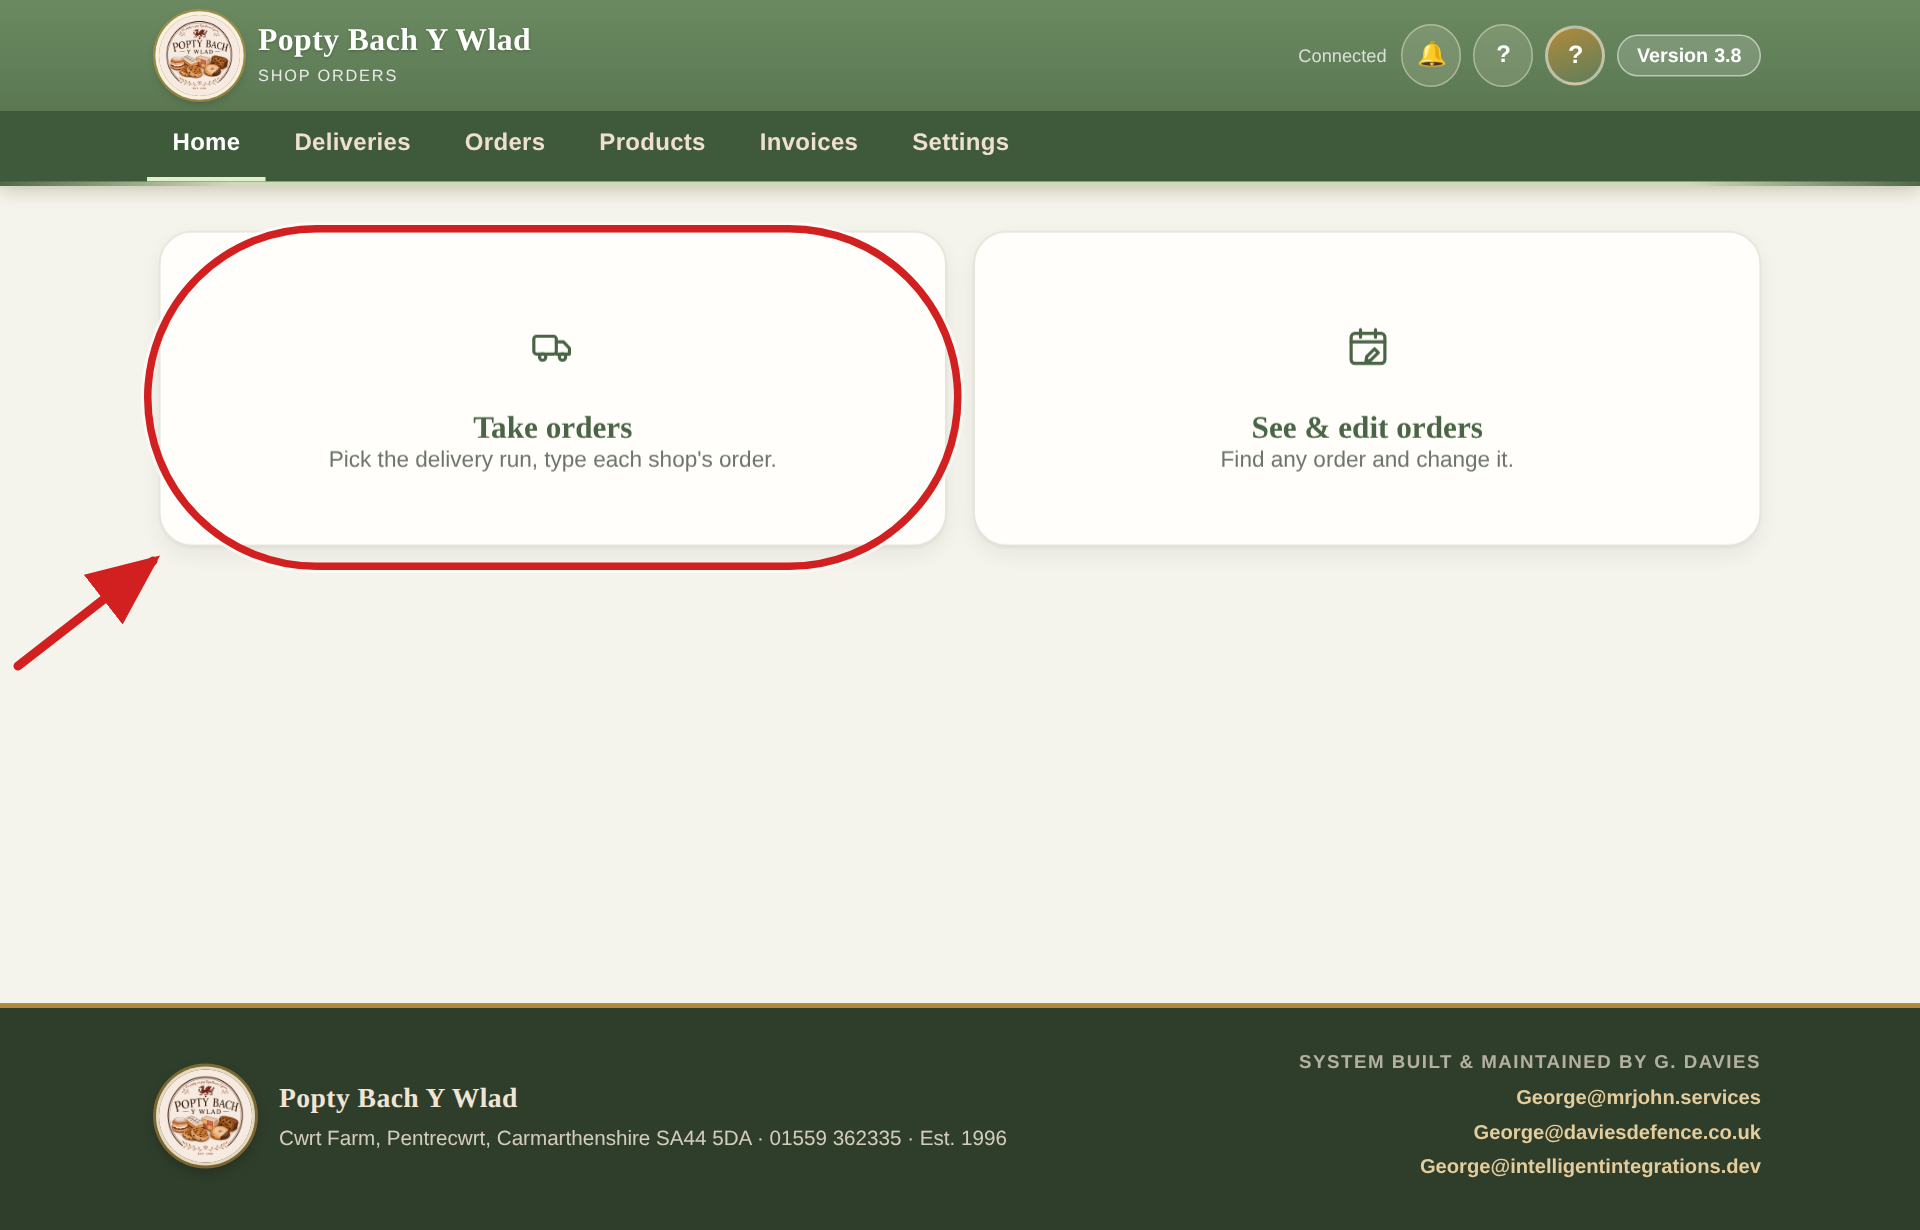
The Home page has one big button for the most common job. Press the circled button to begin a new order.
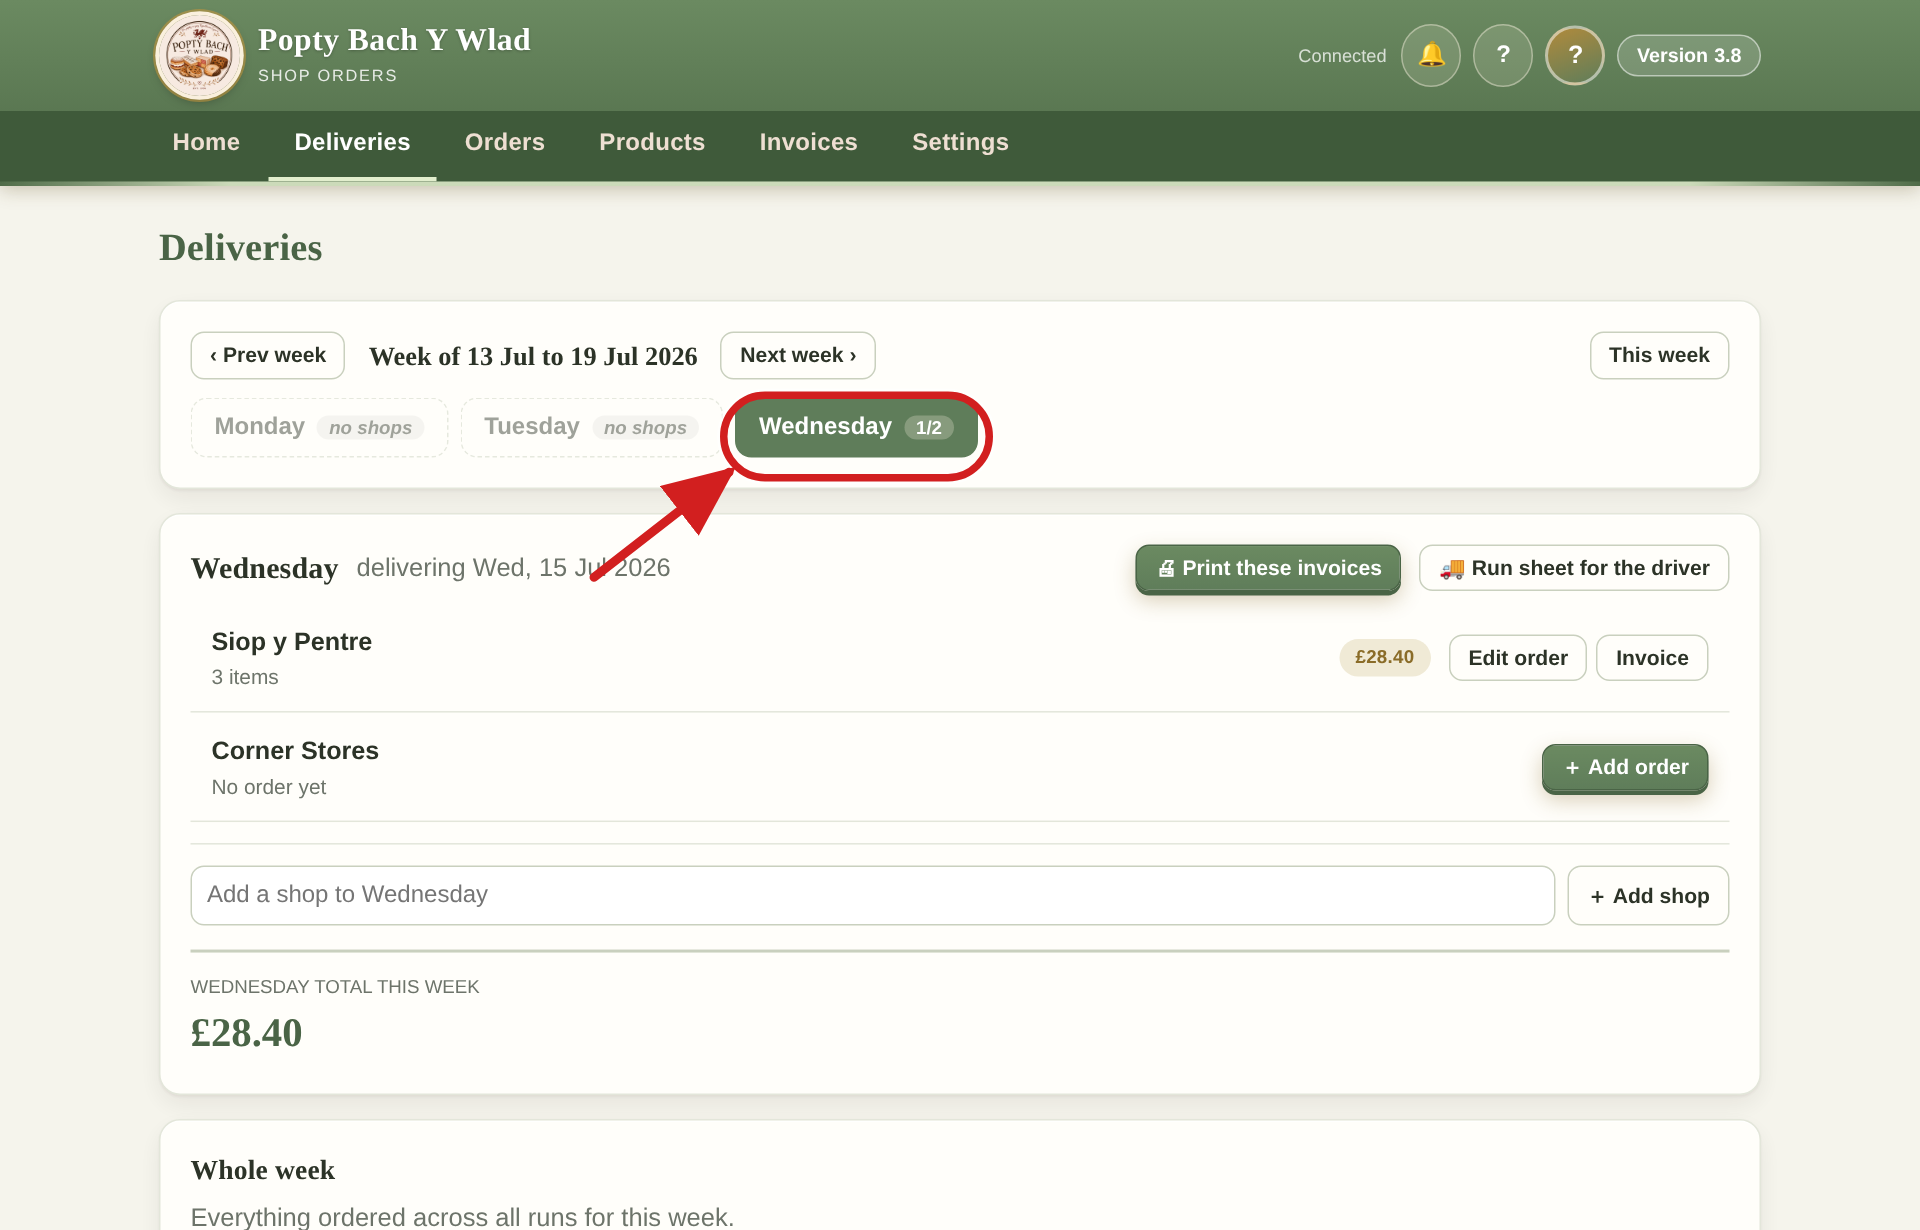
Press the day the shop has their delivery. Shops marked Occasional only order now and then.
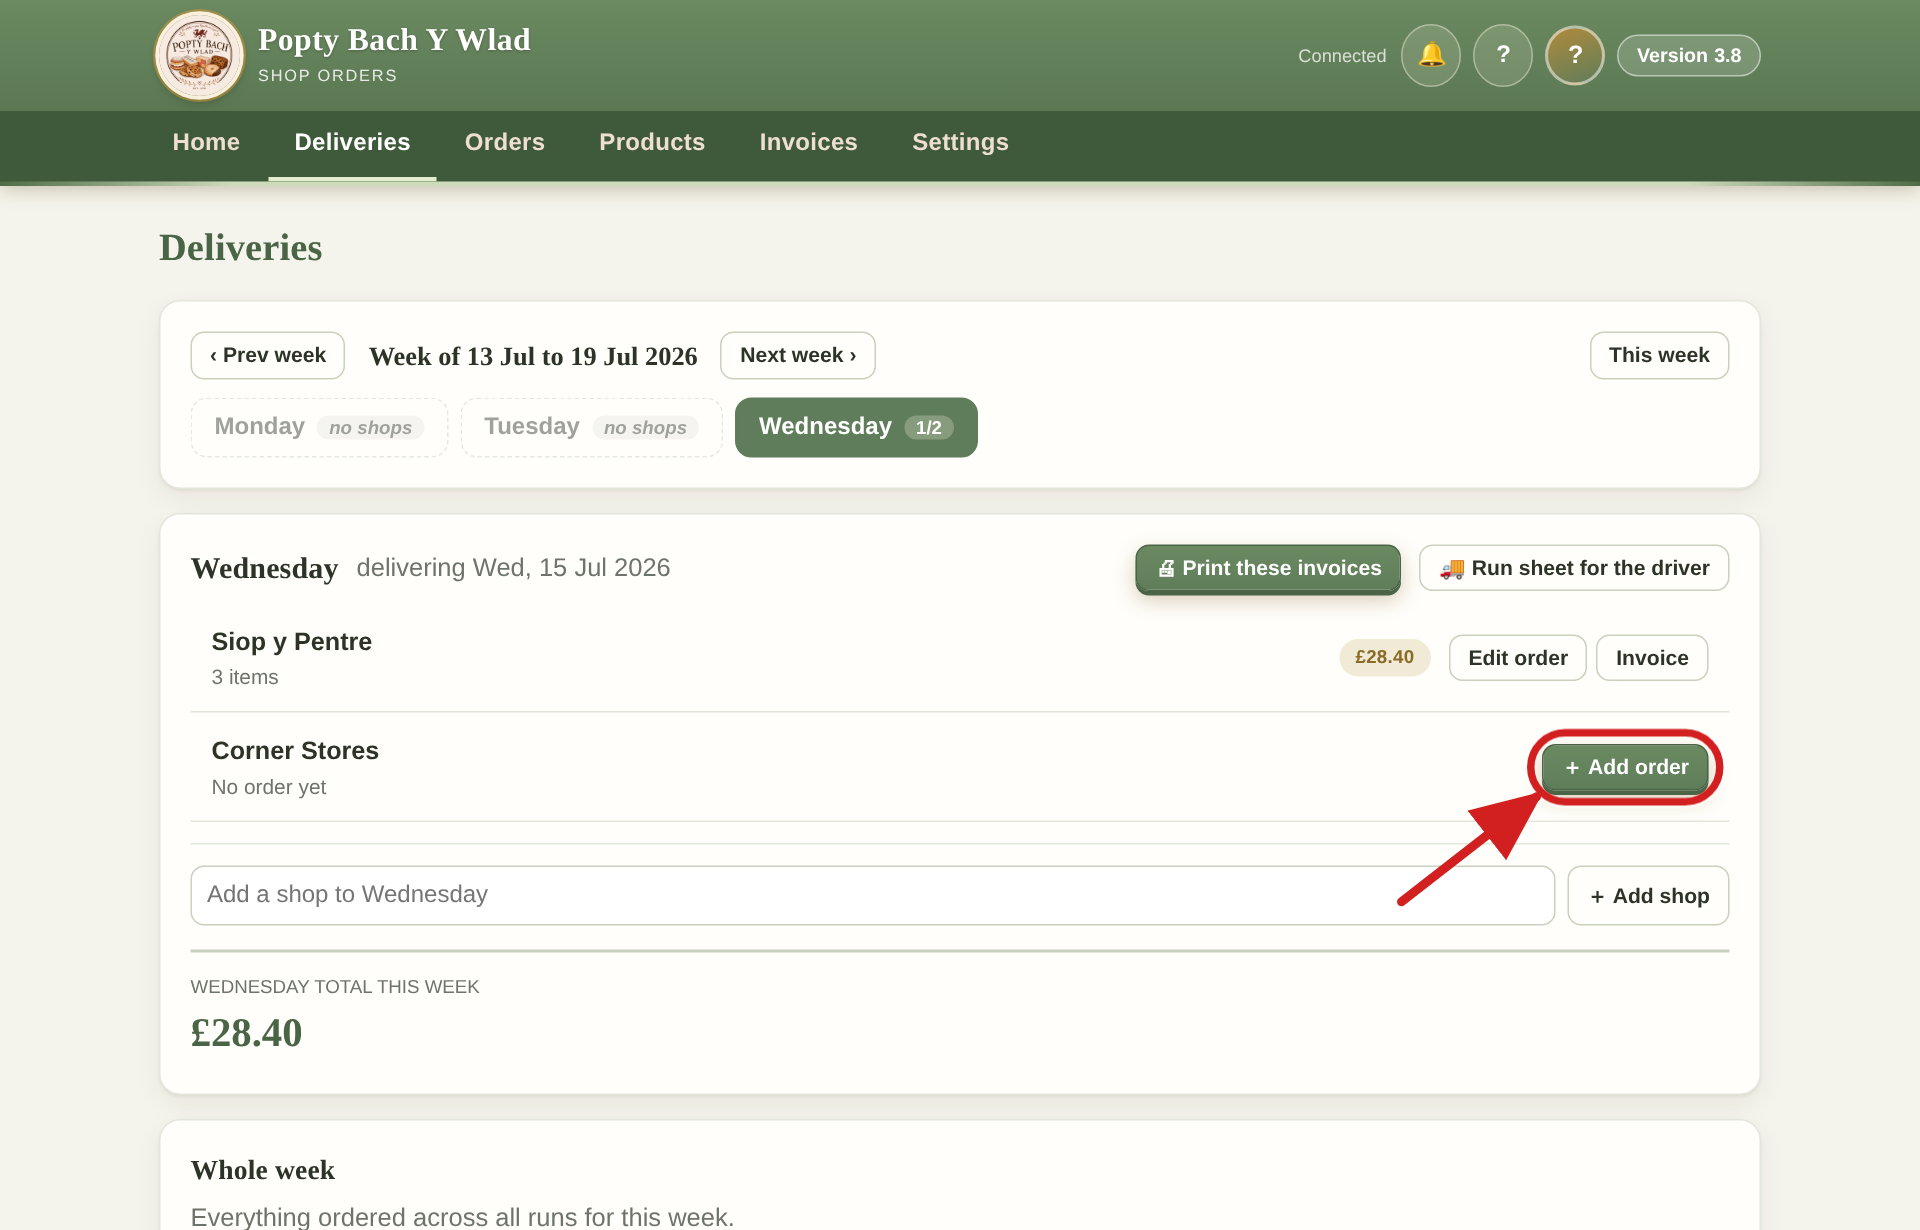
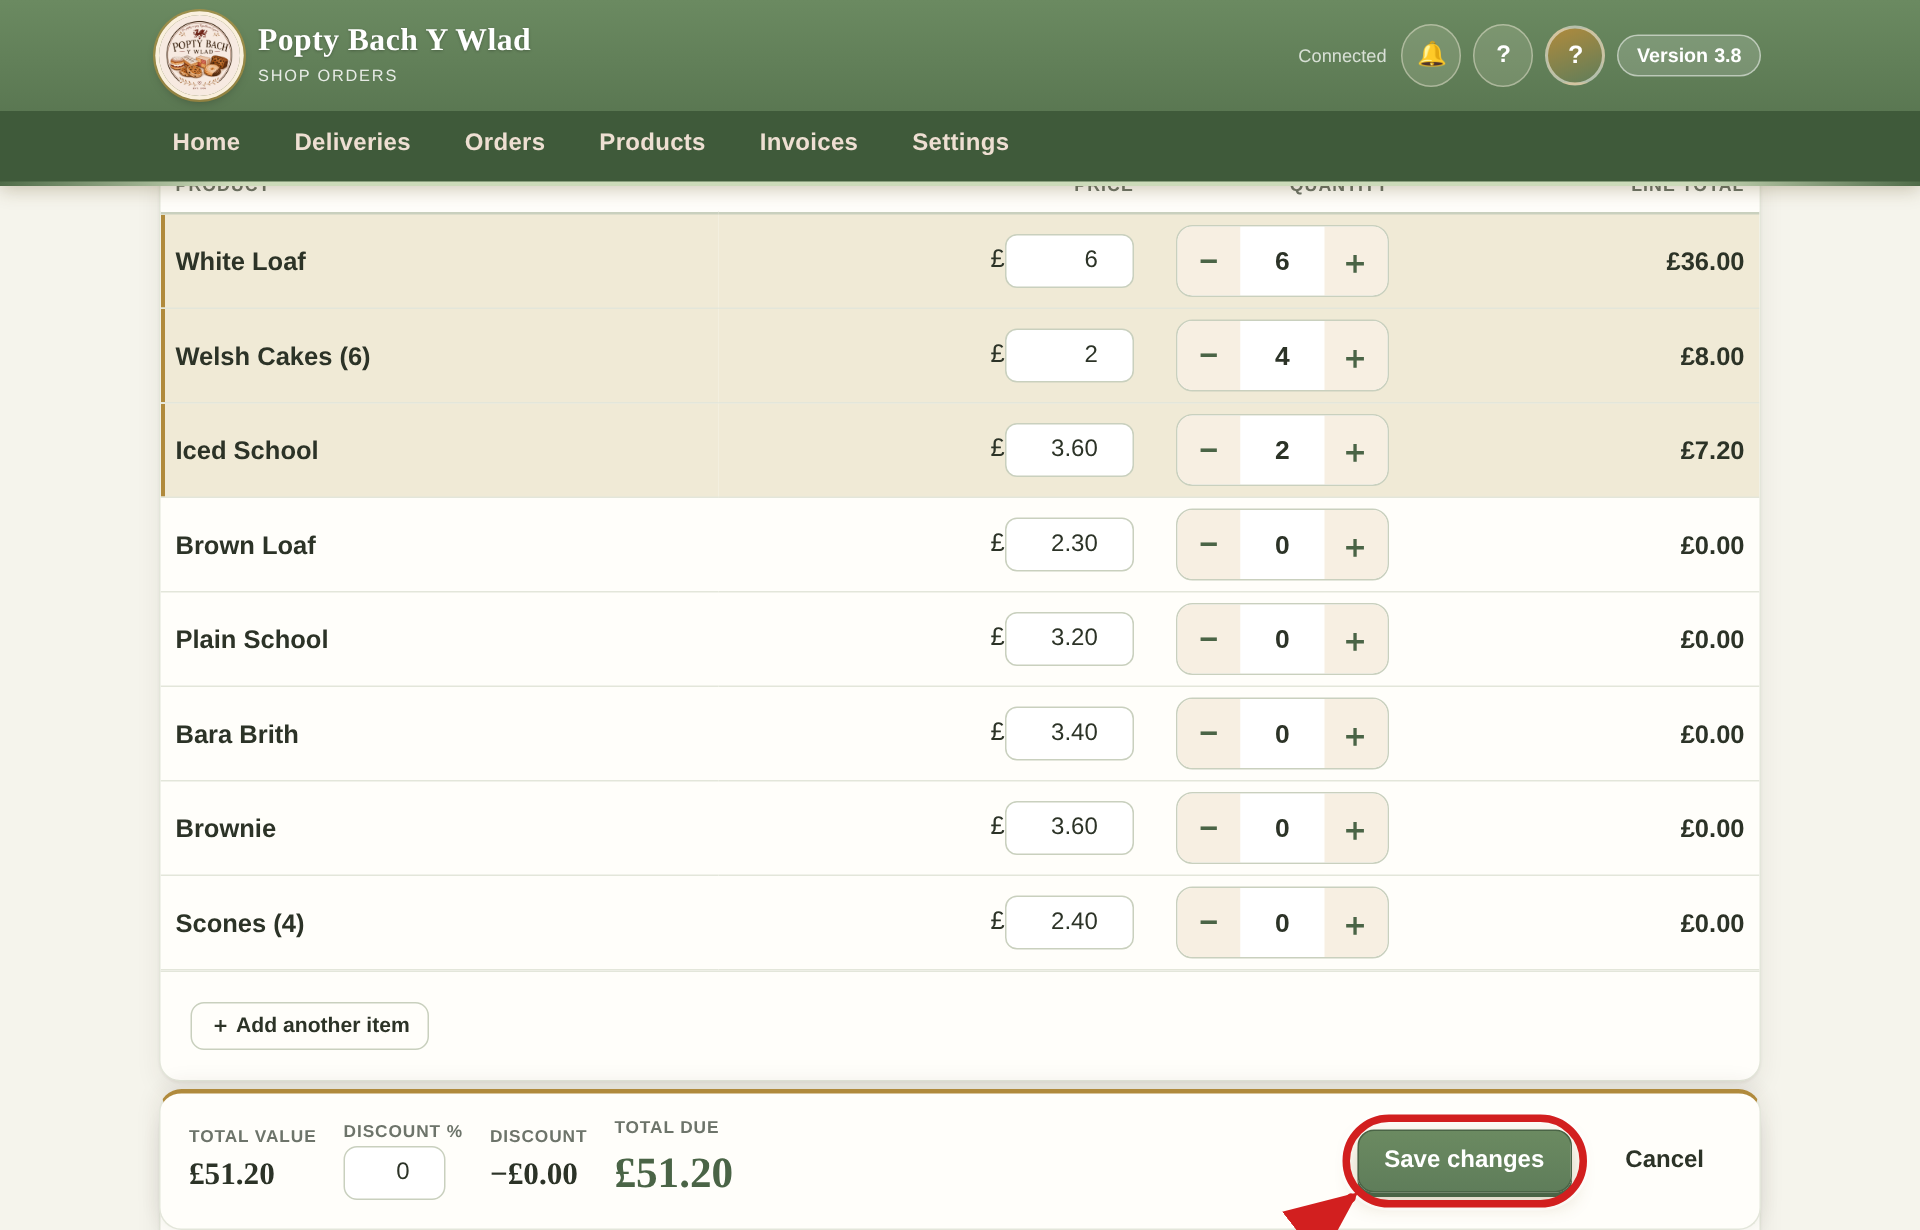
Type how many of each thing the shop wants. Anything left at 0 is simply left off the order.
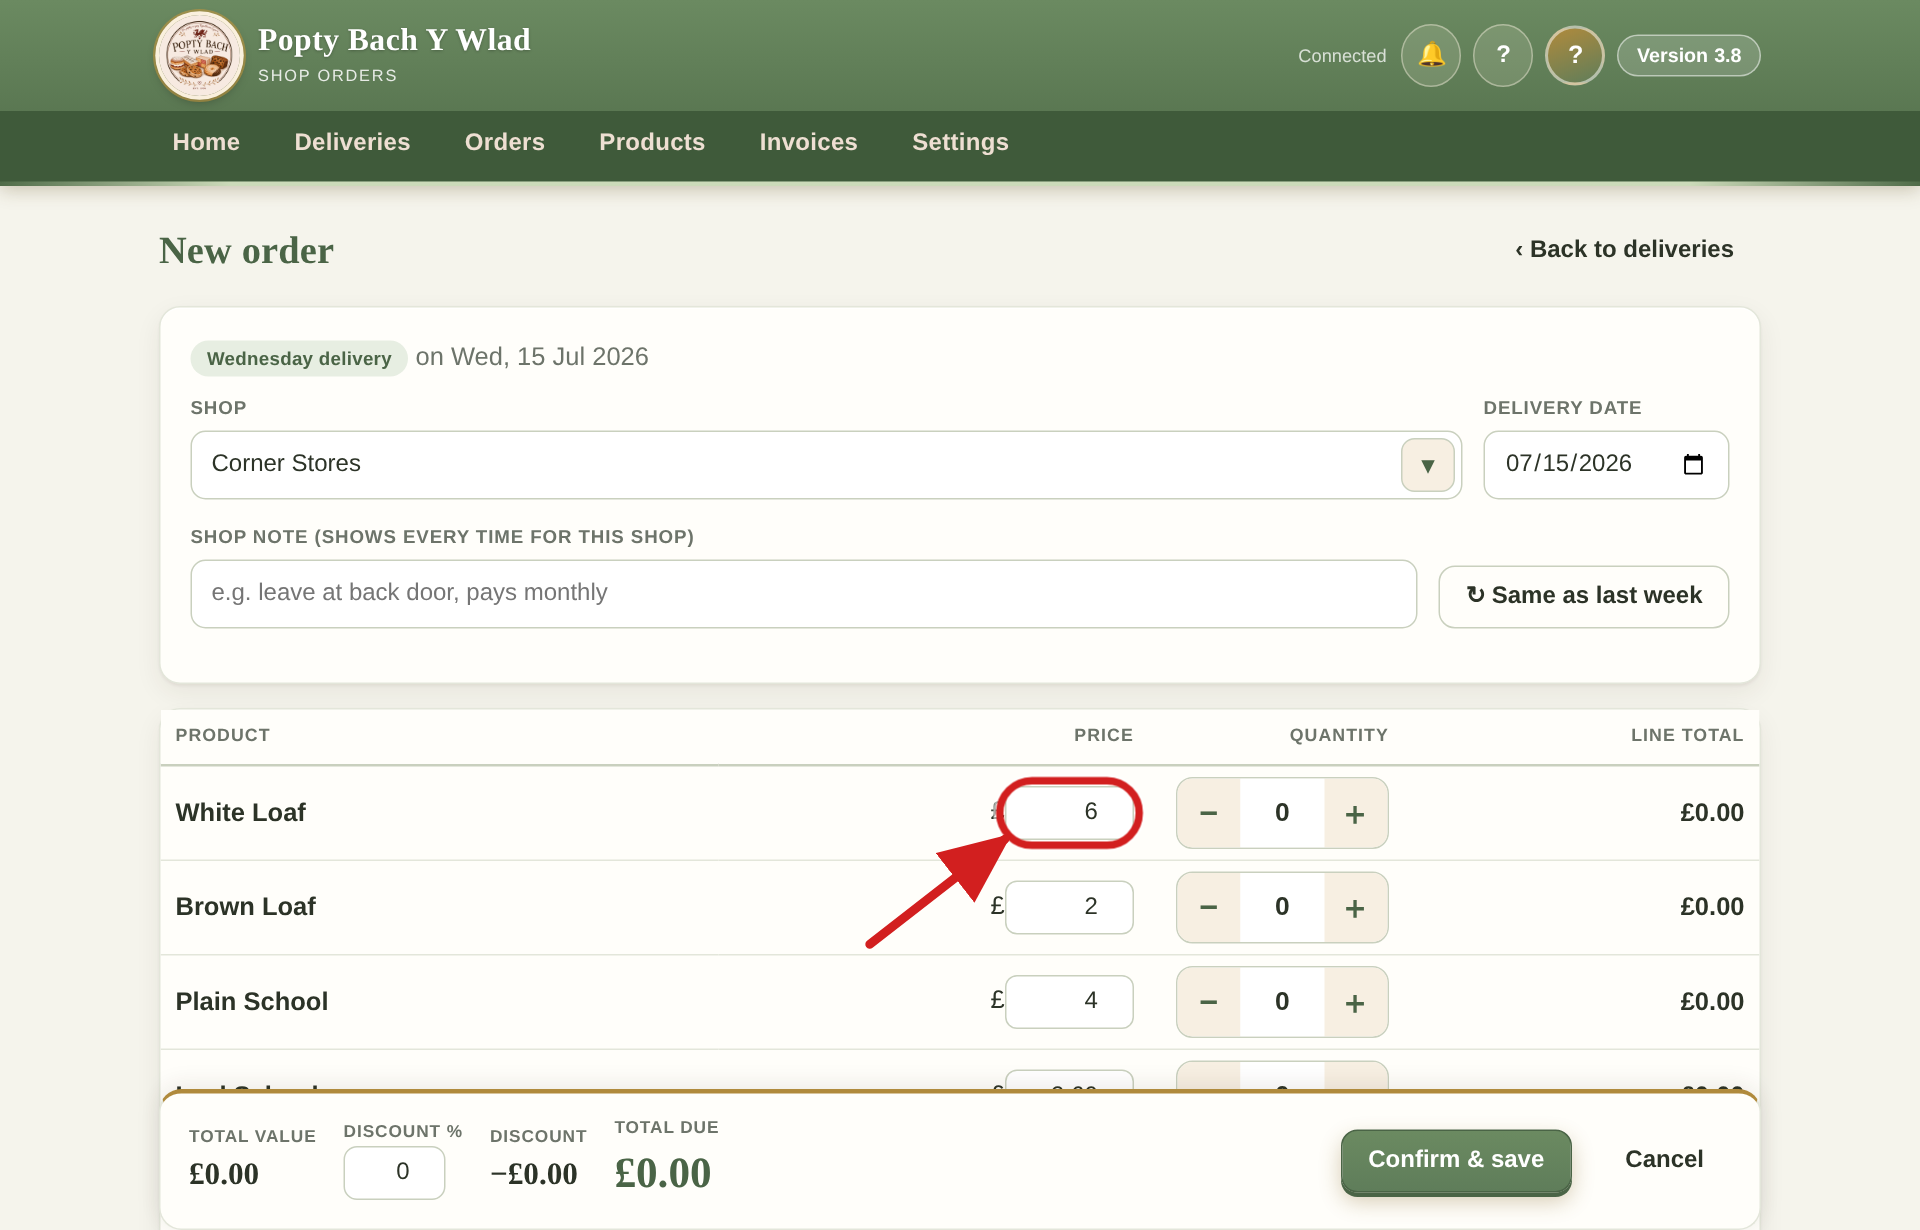
Press Save when done. The bakery screen picks it up straight away, no need to tell anyone.
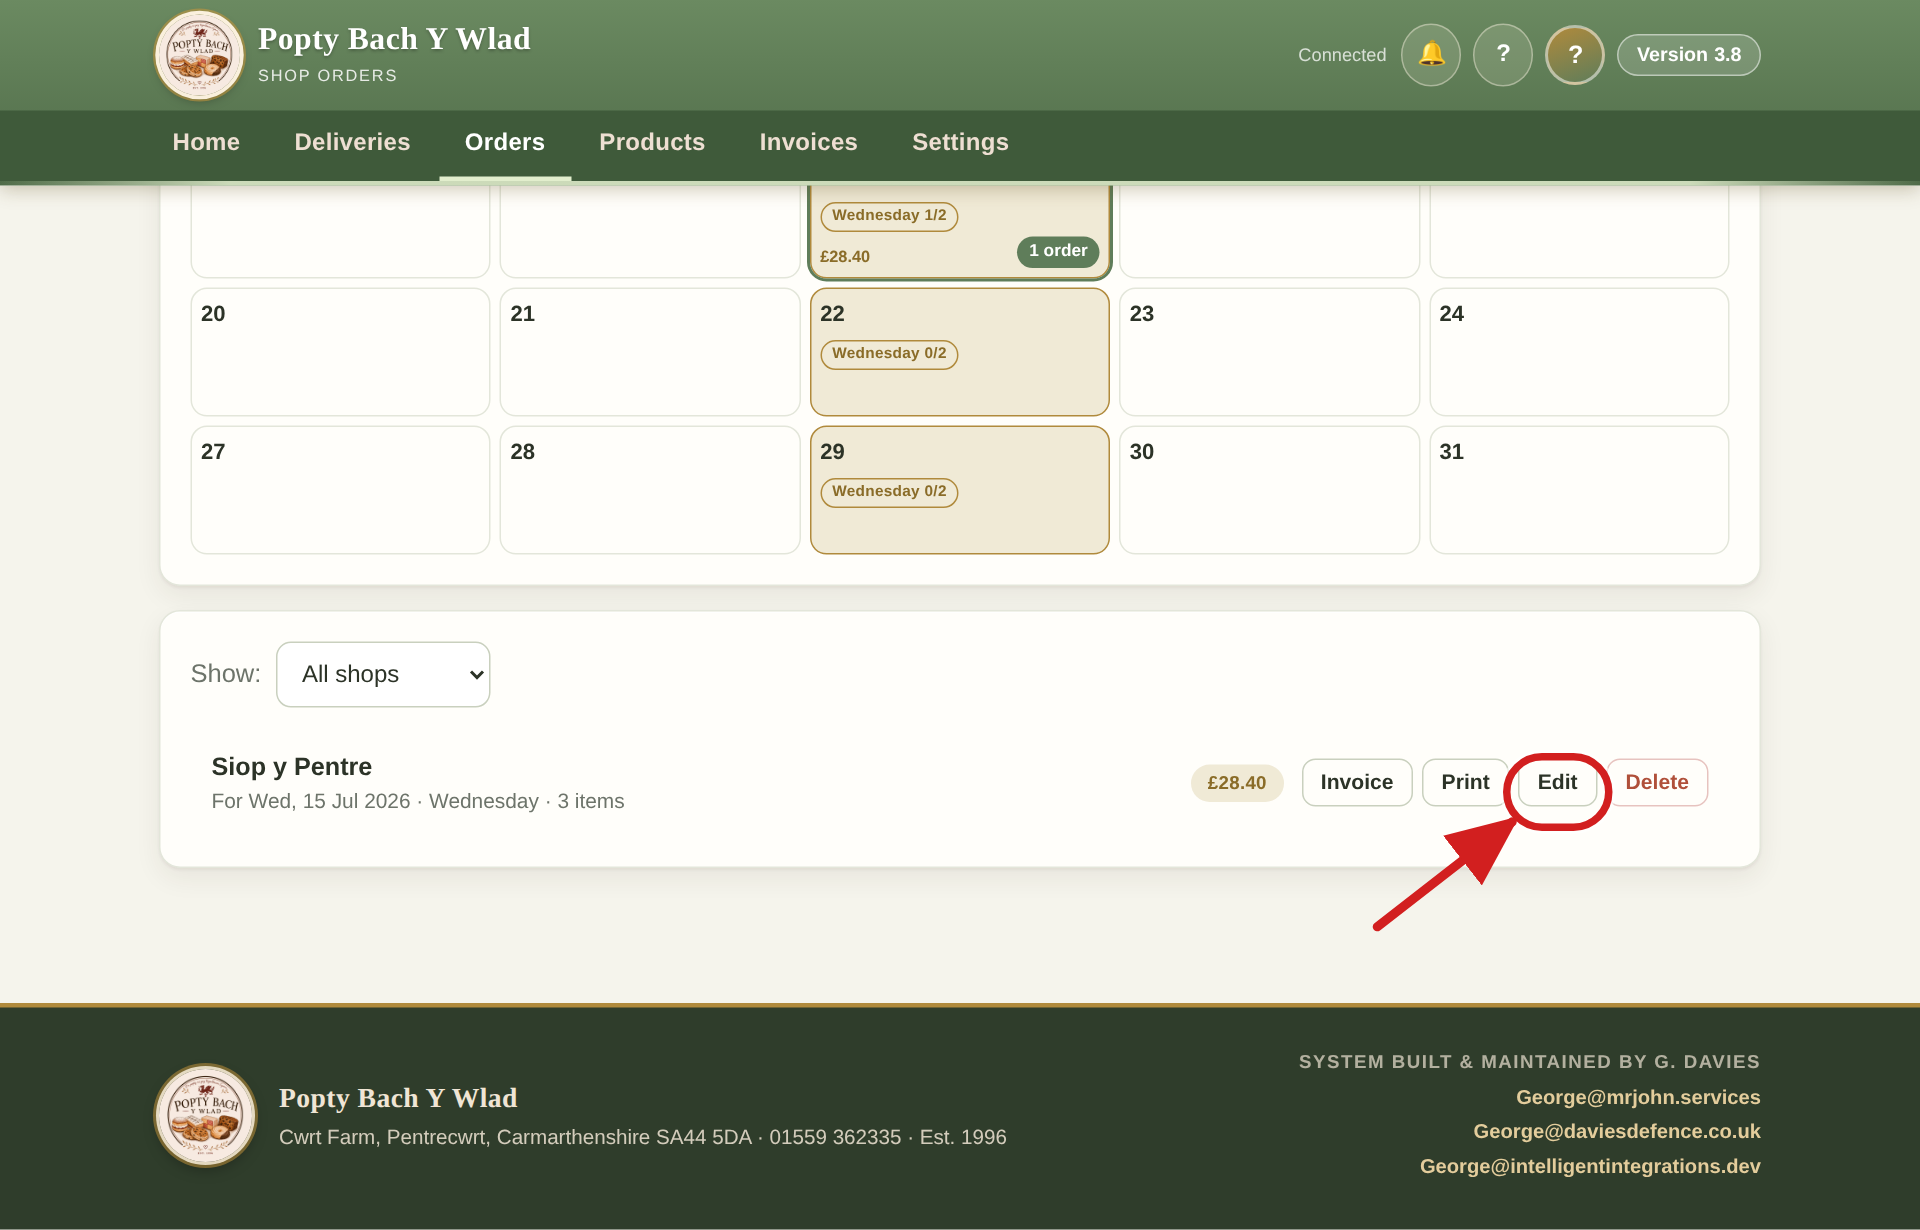
Orders lives under the Orders tab. Press an order to open and change it, everything saves shared.
Each row is a product, every product shows even when nothing's ordered. The Usual column is the every-week template, and the Done box is what actually got baked this week. Typing here only changes this week, never the template.
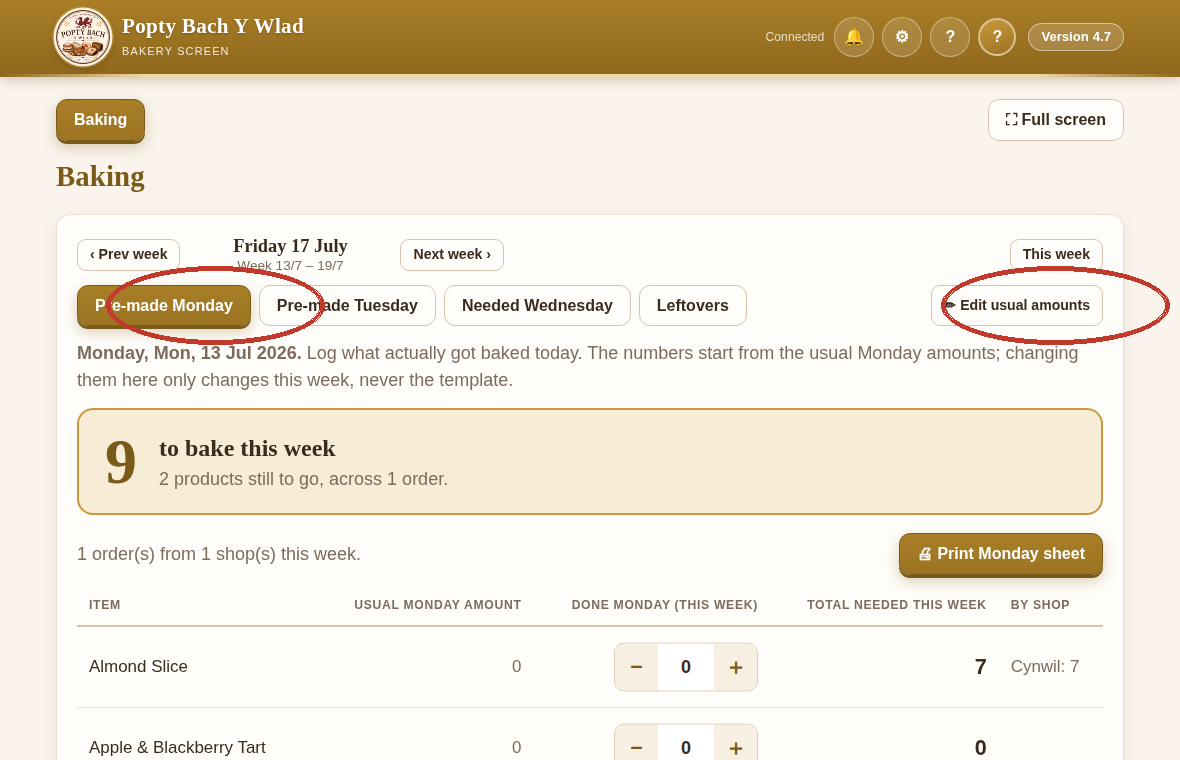
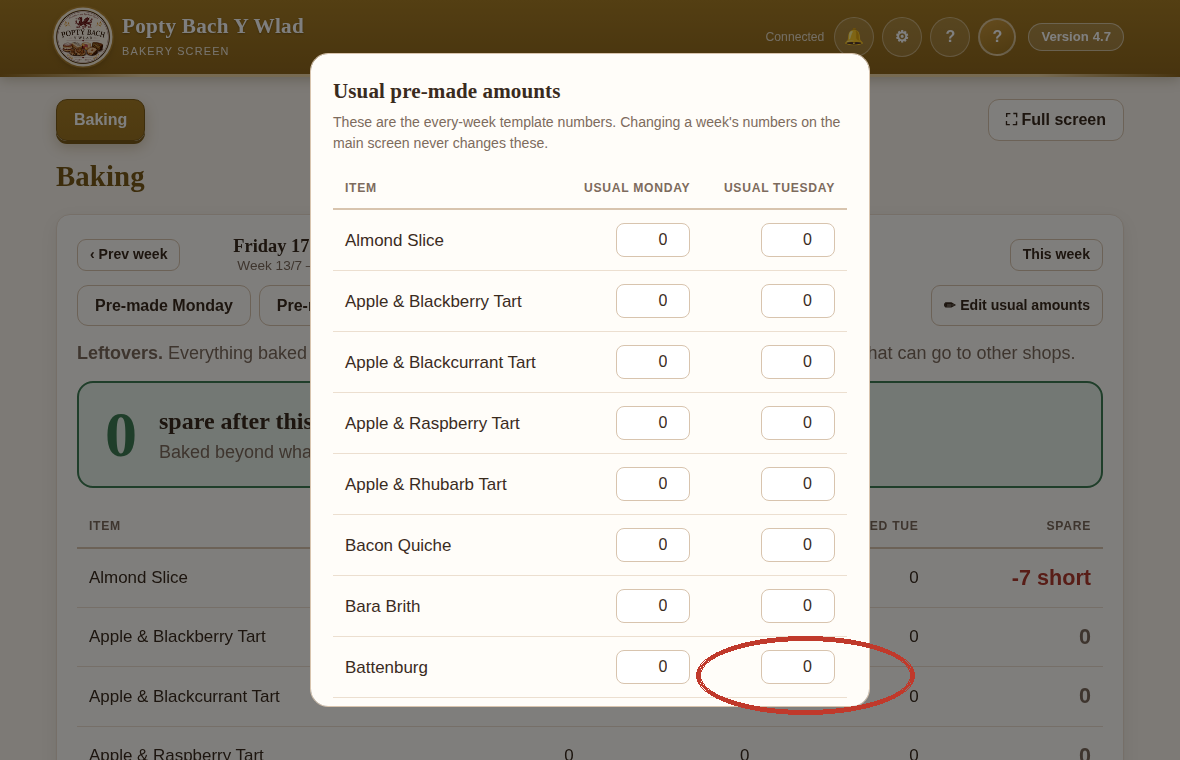
Press Edit usual amounts to change the template itself, for Monday and Tuesday. Next week starts from whatever's saved here.
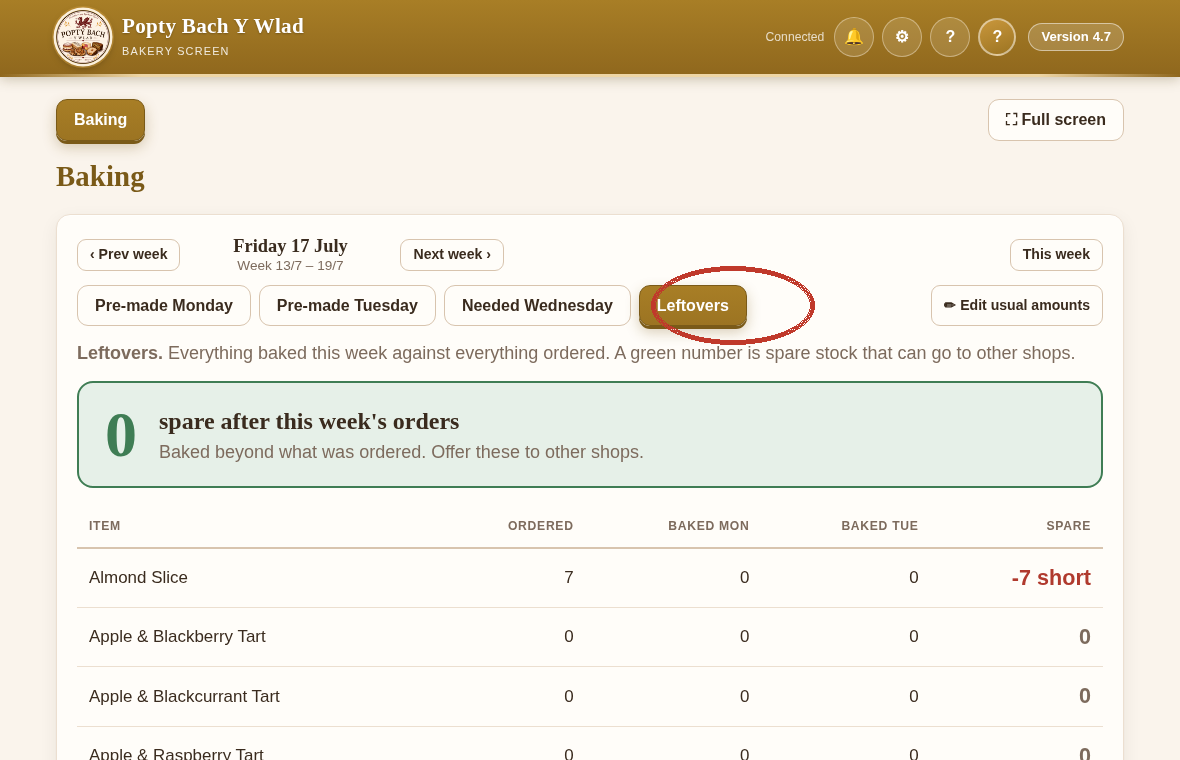
Needed Wednesday shows what's still to bake once Monday and Tuesday are counted. Leftovers shows anything baked beyond the week's orders, green numbers are spare and can be offered round the other shops.
The Full screen button fills the wall screen. If the page is very long it scrolls, everything stays readable.
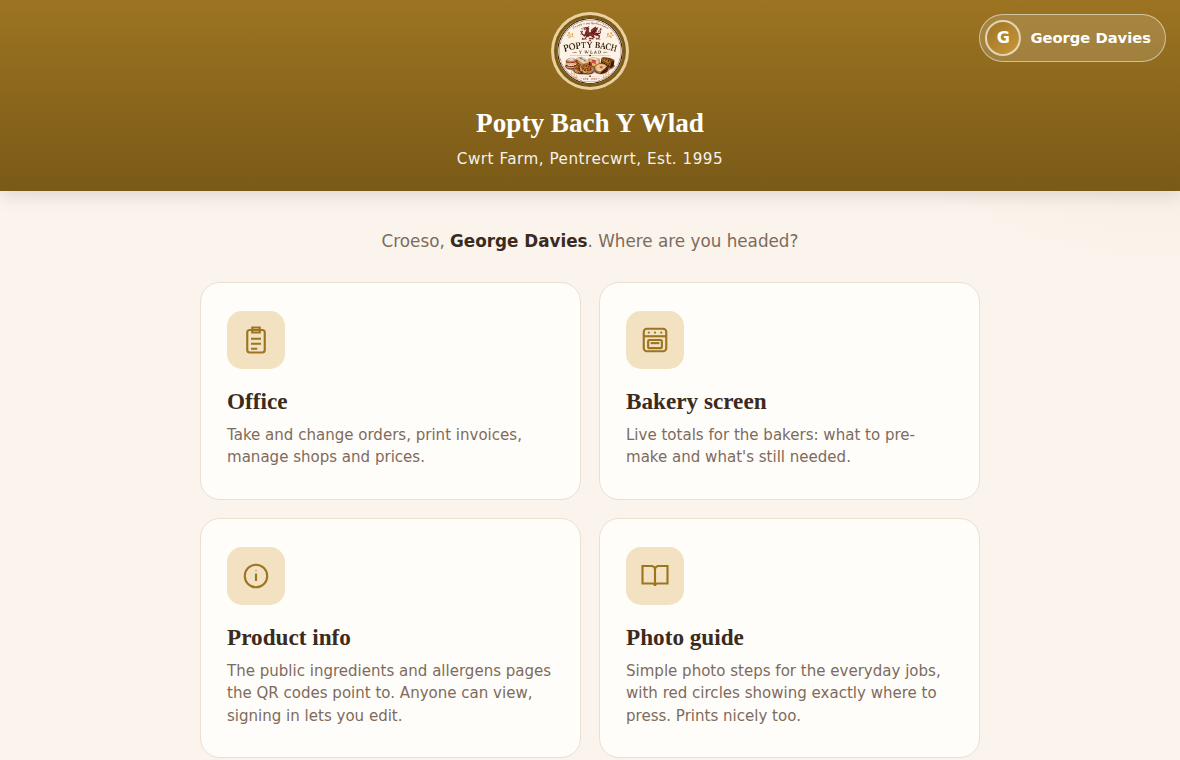
Everything starts at the front page. Sign in with an email or username and password, then the Office, Bakery screen, Photo guide and Product info tiles appear.
A developer or admin can put things right from Office → Settings → Admin: press Manage next to a name to change their email, username or password, or to put their screen back to the simple big-text look if it's gone strange on them.
Developer and admin can change settings and manage staff, office can take orders and print, baker sees the bakery screen. Roles are changed on the same Admin page.
Every product can have a public page with its ingredients and allergens, this is where the QR codes on the labels point. Anyone can view them without signing in.
In the office go to Products → Info pages. Each product is one line, press it to open and edit the description, ingredients, allergens and the page address. Products without a page yet have a one-press Add button at the top.
Changing a page's address makes any QR code already printed with the old one stop working, the office asks before letting that happen.